Hoppa direkt till huvudnavigeringen Gå direkt till innehållet Hoppa till undernavigering

Diameter, Eccentricity, concentricity

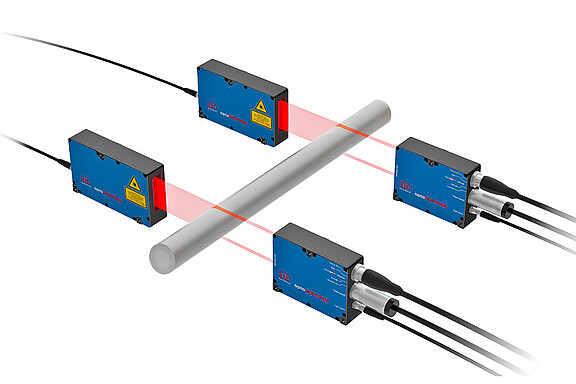
The diameter of an object can be established in different ways. If the centre of the object is known, a single sensor is sufficient for the measurement whose result is evaluated with the position of the centre point or the axis. If the position of the centre point is not known, the diameter is measured directly using two sensors. The distance information here is also evaluated together. In particular cases, if the opaqueness of the object allows this, the determination of the diameter can also be made directly using a confocal sensor.
3D-mätning av spiralfjädrar

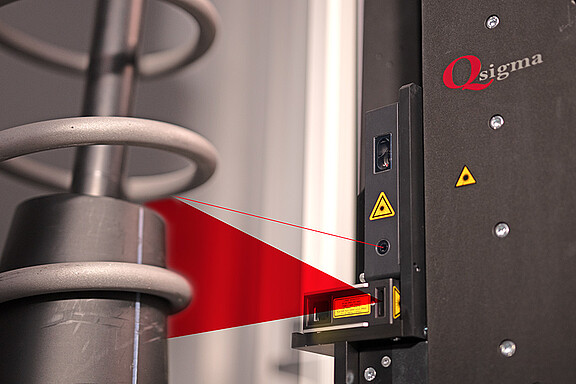
Qsigma designade Spring Measurement System (SMS) för exakt 3D-mätning av spiralfjädrar och andra komponenter. Systemet används bland annat vid utveckling av prototyper och besiktning av seriedelar. SMS identifierar automatiskt fjädern, utvärderar trådkonturen och bestämmer tråddiametern, även om den är utsatt för kraftiga fluktuationer.

Sensorn scanCONTROL 2950 har ett stort mätfält i både Z- och X-led. Detta möjliggör extremt snabb avsökning av fjädrar upp till en höjd om 70 cm och radiellt upp till 30 cm. Det stora räckvidden i kombination med hög punktdensitet möjliggör exakt utvärdering av tråddiametern.

3d-measurement-coil-springs.jpg

Automatisk diametertestning av axlar

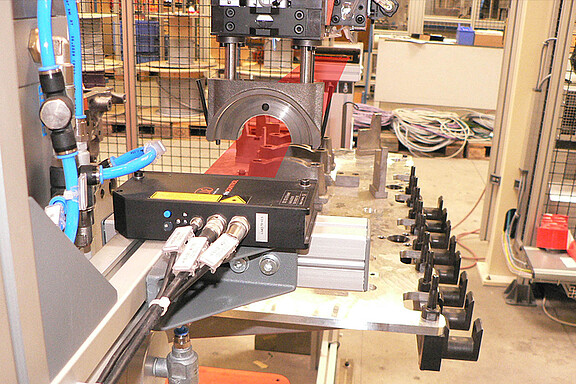
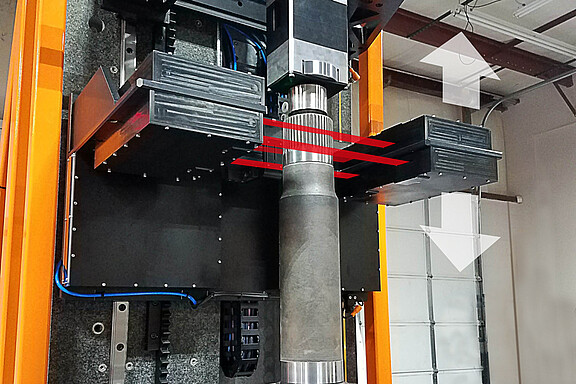
The Vertical Gauging Unit (VGU) är ett mätsystem för exakt och beröringsfri mätning. Systemet är utrustat med fyra optiska mikrometrar och en lasersensor. Systemet möjliggör mätningar av axiella längder, diametrar, koncentricitet och splines och uppnår cykeltider och noggrannheter som aldrig kunde uppnås med manuella mättekniker.

optoCONTROL 2600 optoNCDT 2300
automatic-diameter-testing-shafts.jpg

Bore hole depth

It is essential to measure in bore holes for some applications. In doing so, the depth or the wall structure of a bore hole can usually be measured. Only confocal axial or radial miniature sensors with 4 mm external diameter are suitable for this. Triangulation sensors would not provide any measurement results due to the shadowing of the laser in bore holes. 

Confocal sensors
measure-bore-hole-depth.jpg

Brake disc concentricity

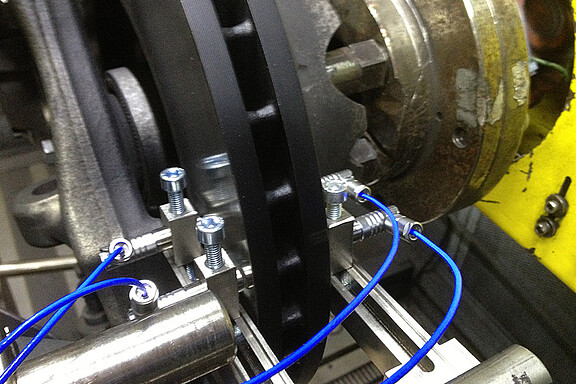
Brake discs are subject to the highest loads in use and are responsible for the safety of vehicles. For this reason alone, brake discs are thoroughly inspected on test benches. Brake discs are checked for various characteristics at a speed of approx. 2000 rpm on special testers. Capacitive sensors are used for checking the geometric characteristics such as concentricity, thickness and wear. As the deformations only occur in the range of hundredths of micrometers, only very precise sensors can be considered for this. The thermoMETER infrared sensors are used for examining the thermal characteristics of the brake disc. The absolute temperature can be monitored with these so that the thermal drift over a long period can be established.

brake-disc-concentricity.jpg

Avrullning av metallband

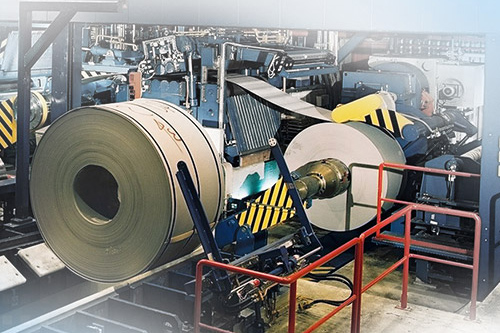
Inom metallindustrin förs valsade band över på rullar för vidare transport. När banden sedan rullas av för vidare bearbetning är det viktigt att veta hur mycket material som har rullats av. Denna uppgift kan med enkelhet lösas genom att använda en optisk lagesgivare, optoNCDT ILR. Med givaren riktad mot rullens centrum mäter den avståndet till ytan och registrerar därigenom den kontinuerligt minskande diametern. Med hjälp av hjälp av bestämda algoritmer är det möjligt att beräkna materiallängden.

coil-unwinding.jpg

Rullars diameter

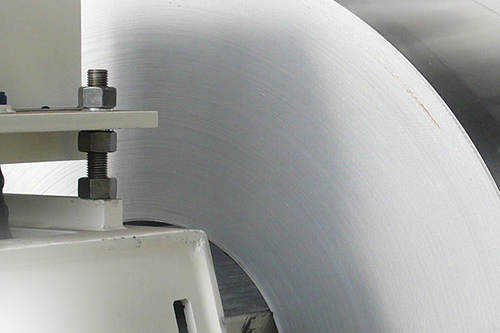
Inom metallindustrin förs valsade band över på rullar för vidare transport. När banden sedan rullas av för vidare bearbetning är det viktigt att veta hur mycket material som har rullats av. Denna uppgift kan med enkelhet lösas genom att använda en optisk lagesgivare, optoNCDT ILR. Givaren mäter på rullens yta och registrerar därigenom den kontinuerligt minskande diametern.

coil-diameter.jpg

Stainless steel tubes for catalyst production

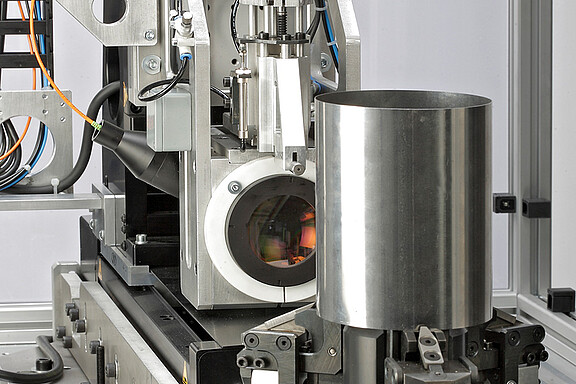
Various shapes of catalysts require that the stainless steel casing has a precise dimensional stability. For round catalysts, stainless steel tubes are therefore subjected to a diameter check in a special measuring system. A confocal sensor measures the distance to the tube, which is rotated through 360°. The outer diameter, the minimum circumscribed circle, and the maximum inscribed circle are directly determined by software calculations. The sensor moves in a horizontal direction, depending on the size of the catalyst.

Confocal sensors
stainless-steel-tubes-catalyst-production.jpg

Extruder bore diameter

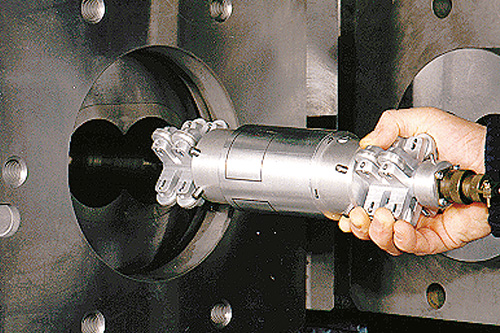
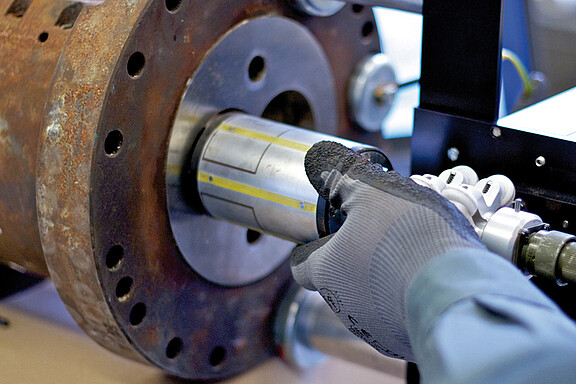
The idiamCONTROL system has been developed for checking the wear of extruder bores. The measuring cylinder is inserted in the case bore and pushed as far as the upper end. During retraction of the cylinder, several capacitive sensors measure the case diameter on several tracks. Specially for double worm extruders, the measuring cylinder has two metal pins which run along the saddle of both bores and in this way prevent rotation of the cylinder.

extruder-bore-diameter.jpg

Laser sensors support cable banding

Banding machines are used during the manufacture of cables in order to provide cables with a protective sheath. The wire runs centrally through a roll on which the banding material is coiled. The diameter of the roll must be measured constantly so that the tension of the material always remains constant. The challenges here are the metal bars which continuously cross the measuring range and the different materials for banding which can be matt or shiny.

laser-sensors-support-cable-banding.jpg

Bearing shell detection in automotive manufacturing

The presence of the bearing shells is checked automatically for all bearing caps before the assembly of the engines at the Swedish automotive manufacturer, Volvo. The bearing caps are kept in the light band of an optical micrometer by robots. As the bearing shells and the bearing caps cover a part of the light band, a reliable OK/NOK inspection can be performed.

bearing-shell-detection-automotive-manufacturing.jpg

Oscillation

Measuring oscillation is a frequently occurring measuring task. Oscillations occur in research and development, in machines and plant construction as well as production control and are measured using sensors.

Oscillations as measured values are usually distinguished by high frequency and alternating amplitudes. Therefore the measuring instruments for oscillation measurement must also show high measuring speeds with high accuracy in order to achieve precise measurement results. Laser sensors, capacitive and eddy current sensors are particularly suitable for oscillating objects.

dummy-900x600.jpg

Diameter of a pulley

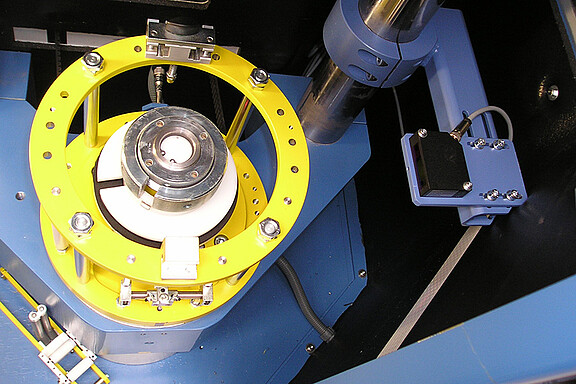
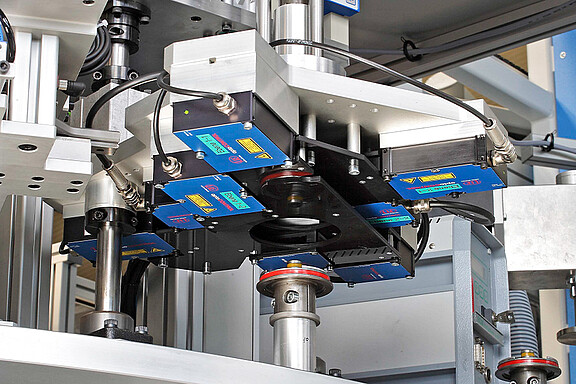
Diameter and concentricity are crucial factors for a long service life, due to the high rotational speeds achieved by pulleys. These parameters are evaluated on a special test bed, using four optoCONTROL digital micrometers. Two sensors on each level detect the outside diameter of the disc.

diameter-pulley.jpg

Mätning av innerdiameter på rör

Systemet idiamCONTROL kontrollerar slitage i extruders genom mätning av innerdiametern. Ett mäthuvud skjuts in i hålet och integrerade kapacitiva givare genomför mätningen parvis. Mäthuvudets position längs längdaxeln mäts genom kontroll av kabellängden. På detta sätt fås information om diametern för varje position av mäthuvudet.

acquisition-internal-diameter-tubes.jpg

Kvalitetskontroll av medicinska tablettstansar och matriser

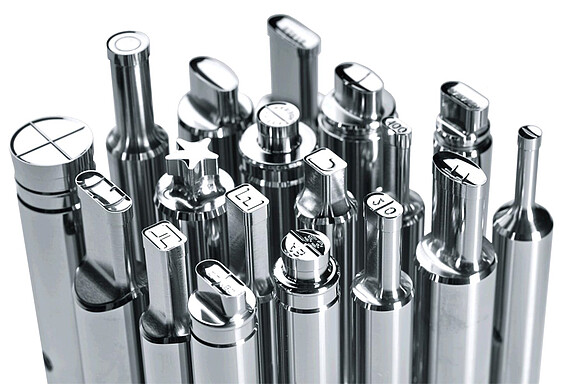
Enligt ISO 18084: 2011 är pressverktygen för tablettproduktionen föremål för kontinuerlig kvalitetskontroll. På grund av komplex geometri och en starkt reflekterande yta har automatisk inspektion av stansar och matriser varit svårt. Endast användningen av en konfokal givare (confocalDT 2451) och en optisk mikrometer (optoCONTROL 2600) tillsammans med en exakt rörelse med 5 frihetsgrader möjliggjorde utvecklingen av »Ti-1«. Ti-1 är ett komplext mätsystem utrustat med ett USB-gränssnitt och specialprogramvara för geometrisk och visuell inspektion av verktyg.

Confocal sensors optoCONTROL 2600
quality-control-medical-tablet-stamps.jpg

Measurement of metal stampings

Cylindrical, ground stainless steel metal stampings are precisely measured in a fully automatic measurement installation. Two optical optoCONTROL micrometers are applied in order to measure roundness, concentricity and diameter.

optoCONTROL 2600 Fiber optic sensors
measurement-metal-stamping.jpg

Measurement of flat washers

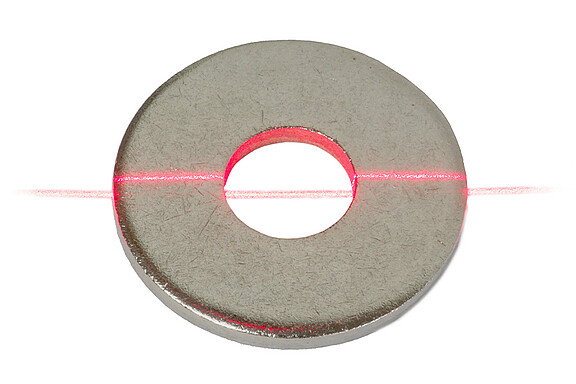
These days, flat washers are an auxiliary material used in almost every industry. In most cases, the washers consist of different alloys and are required in all sizes and thicknesses, which means the demands on the manufacturers are particularly high. In order to supply the customer with a correctly sorted, high quality product, the thickness and diameter are inspected before the washers are packed. This inspection is carried out using a scanCONTROL 2910-50 laser scanner.

measurement-flat-washers.jpg

Non-contacting roundness measurement for rollers

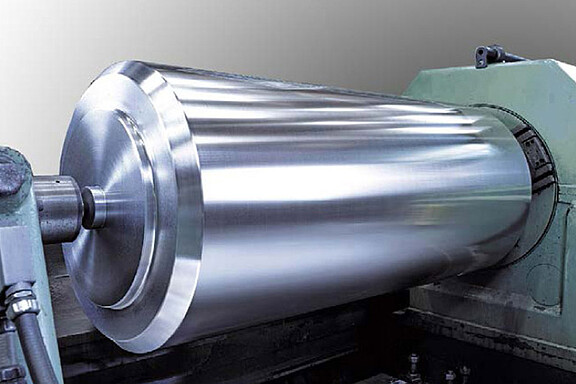
In the production of tapes and foils the high speeds of up to 2700 m/min that are used today lead to an increased vibration tendency in the roller stands. Even smallest μm-range irregularities in the rolling contour lead to cross-grooves on the rolled material and thus clearly reduce the quality of the product. For quality assurance a highprecision

roundness measuring system for rollers is required, in which an eddy-current sensor measures the surface contour of the roller. Ambient conditions like dust or oil must not affect the measurements. With computer support the angular position of roundness errors and the accumulation and periodicity of circularity errors can be documented.

non-contacting-roundness-measurement-rollers.jpg

Roller runout

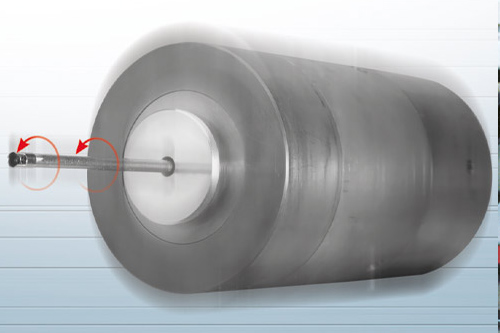
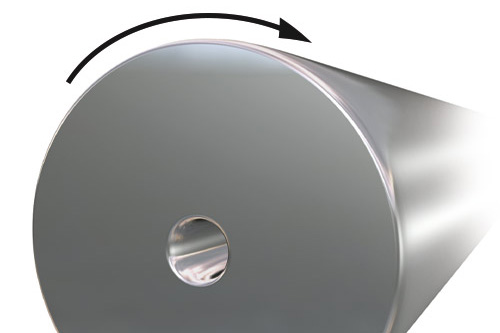
The runout of the roller is a crucial criterion for rolling processes of metals, plastics or other materials. An imbalance is even dangerous for rollers which have to rotate at high speeds. Therefore, the roundness of the roller must be measured before and also during the application. For all the following processes, a sensor measures the roller directly and establishes the ovality. The non-contact eddy current method is used for rollers made of polished metal. Capacitive or laser triangulation sensors are used for rollers made of other materials.

roller-runout.jpg